HOW TO BUY AND STORE BITGESELL ($BGL)
A Complete Guide to Acquiring and Protecting Your Deflationary Digital Asset
Bitgesell News
May 30, 2025
Now that we’ve explored the philosophy of Silvio Gesell and the bold vision behind Bitgesell, it’s time to dive into the practical side: how to actually buy and store BGL, the native coin of the Bitgesell blockchain.
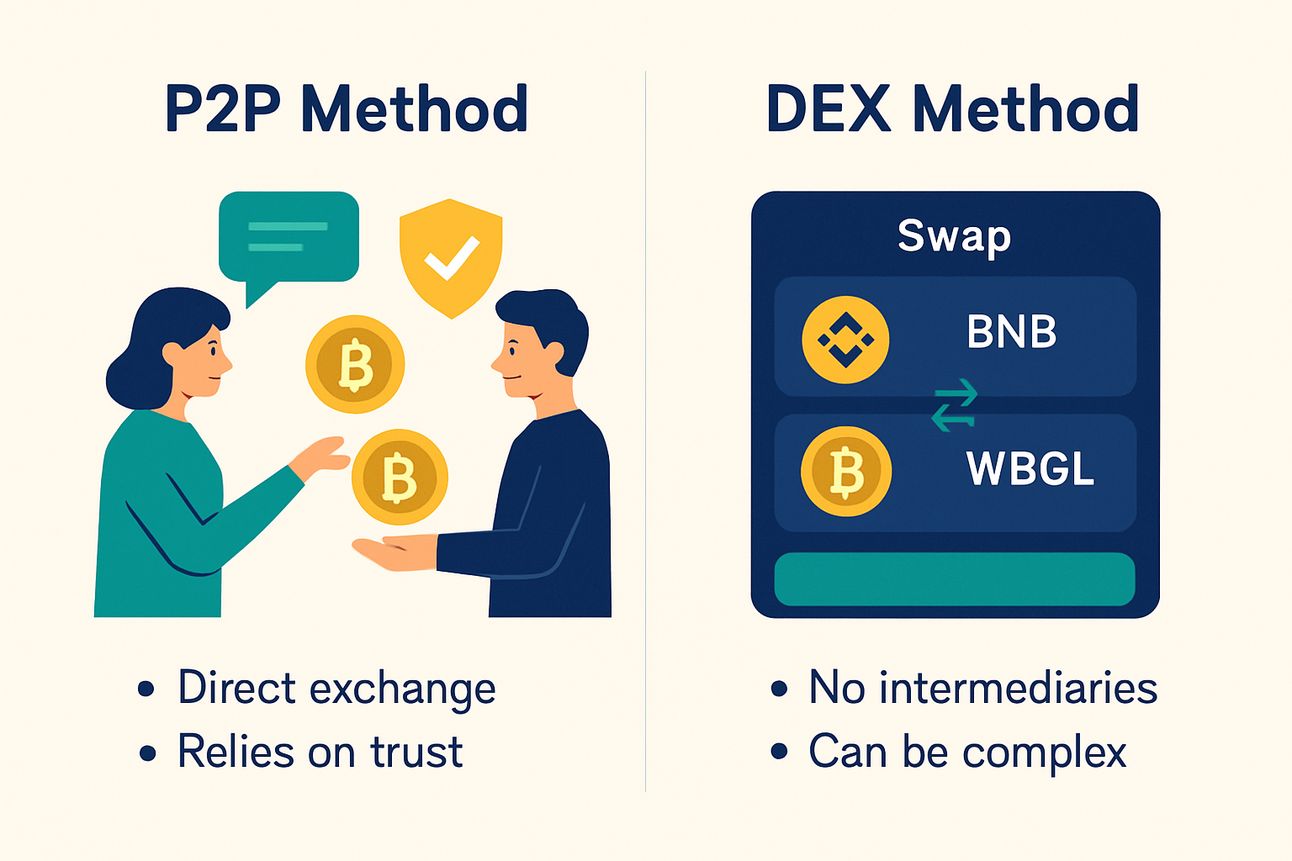
Since Bitgesell is not yet listed on centralized exchanges, there are currently two primary ways to acquire BGL: through peer-to-peer (P2P) transactions or via decentralized exchanges (DEXs) followed by conversion to the native chain.
Method 1: Peer-to-Peer (P2P)
The simplest way is to buy directly from someone who already holds BGL. This method is usually conducted through the project’s official communities, such as Telegram or Discord. While fast and cost-effective, this requires a high level of trust — always confirm the seller’s reputation before proceeding.
Method 2: Using Decentralized Exchanges (DEX)
For most users, the recommended path is purchasing WBGL — the tokenized version of Bitgesell — and converting it to native BGL using the official bridge.
WBGL is available on multiple networks:
Ethereum
BNB Chain
Arbitrum
Optimism
Regardless of the network, the steps are mostly the same: buy WBGL on a DEX, then bridge it to native BGL.
Step 1: Initial Preparation
Before anything else, you’ll need a Bitgesell wallet.
Go to the official Bitgesell website and download the wallet app for your platform.
Open the application and create a new wallet.
Save your recovery phrase (seed words) in a secure place — this is your only way to recover access if lost.
Next, you’ll need a centralized exchange account like Binance or KuCoin to buy crypto that can be swapped for WBGL — for example, BNB.
After completing KYC verification, purchase BNB.
Transfer the BNB to a non-custodial wallet like MetaMask or Trust Wallet that supports the BNB Chain.
Step 2: Accessing the Decentralized Exchange
Once your wallet holds BNB:
Open the DEX for your network (e.g., PancakeSwap on BNB Chain or Uniswap on Ethereum).
Connect your wallet.
Swap BNB (or ETH) for WBGL by entering the token contract address (found on the official Bitgesell website).

Step 3: Converting WBGL to Native BGL
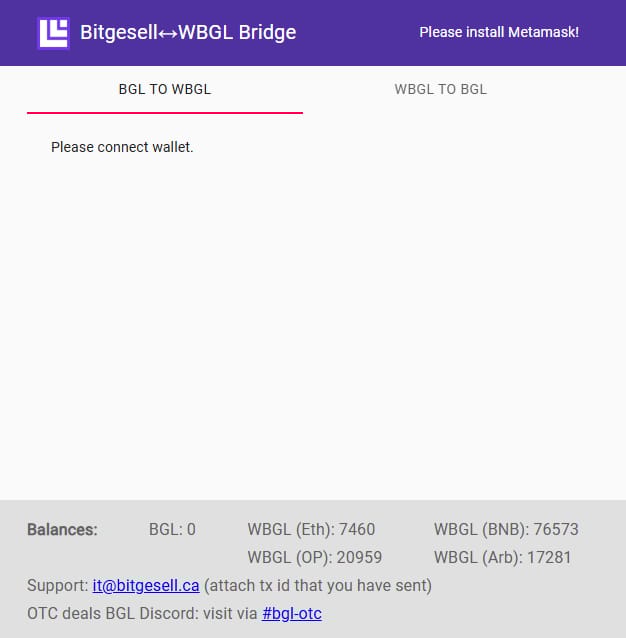
Now it’s time to bridge your WBGL to native BGL.
Visit the official Bitgesell bridge.
Connect your wallet.
Select the source network and enter the amount of WBGL.
Paste your Bitgesell wallet address as the destination.
Confirm the transaction — there is a 1% bridge fee, and processing time depends on network traffic.
This process removes your WBGL from the token network and delivers real BGL to your native Bitgesell wallet.
⚠️ The bridge is a temporary solution. The team is working on a new wallet version that will integrate bridge functionality directly.
Always check if the bridge has "BGL" balance available for conversion, otherwise conversion from wBGL to BGL will not be possible.
If you experience any issues during the conversion, please send an email to Bitgesell support at [email protected] with a detailed description of your issue, including:
Your wallet address
The network you used
The amount of WBGL involved
A screenshot of the transaction (if available)
The team will assist you as soon as possible.
You Now Own Native Bitgesell
By following these steps — from acquiring WBGL to using the official bridge — you’ve successfully obtained native BGL without relying on centralized exchanges. This method is safe, efficient, and aligns with the decentralized spirit of the Bitgesell ecosystem.
Stay Tuned
For more guides, updates, and insights, subscribe to the Bitgesell News newsletter and follow the Bitgesell for Beginners playlist.
We’re just getting started.

Reply